SAP LSMW Step by Step Tutorial
SAP LSMW Step by Step Tutorial
What is LSMW( Legacy System Migration Workbech)?
Now let us know what is the LSMW? ,is a Legacy System Migration workbench using which we can import the data from Non-SAP system to SAP system.It is specially designed for functional consultants who are not experts in the coding and it can be done in 14 steps to complete the LSMW for this we have to map the all steps and LSMW has four ways to import data into SAP, and they are: BDC, Direct Input, BAPI(BO) and IDOC..Here steps are:
First of all ,go to transaction LSMW.
Enter Project name : zs_lsmw.
Subproject name : zs_lsmw.
Object name : zs_lsmw.
Now ,Click on Create entry button.
It will ask for description, Give description for
Project name : zs_lsmw project.
Sub-project name : zs_lsmw subproject.
Object name : zs_lsmw object.
Click on Continue(f8) button.
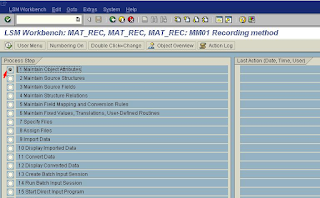
It will takes you to the LSMW steps screen and first step radio button already selected.
Step1 Maintain object attributes
Step2 Maitain source structures
Step3 Maitain source fields
Step5 Maitain field mapping coversion rules
Step6 Maintain fixed values, translations, user-defined routines
Step7 Specify files
Step8 Assign files
Step9 Read data
Step10 Display read data
Step11 Convert data
Step12 Display converted data
Step13 Create batch input session
Step14 Run batch input session
Data upload using "LSMW" is succesfully completed.
Finally ,Go to SE11 and check whether data is uploaded or not.
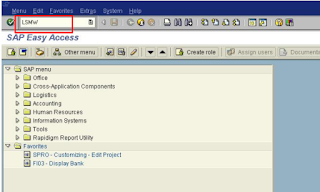
To start working with the LSM Workbench, use transaction LSMW:
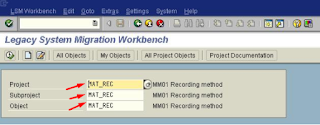
Click on the create button to create new project, sub-project and the object. As shown below.
On the initial screen, you can create a new project, corresponding sub-projects and objects via Edit -> Create new entry.
Click on the execute button once the project, sub-project and the object are created.
On the initial screen, you can create a new project, corresponding sub-projects and objects via Edit -> Create new entry.
Click on the execute button once the project, sub-project and the object are created.
Click Back.Now record using Batch Input Recording Data Migration - Step by Step via Batch Input Recording
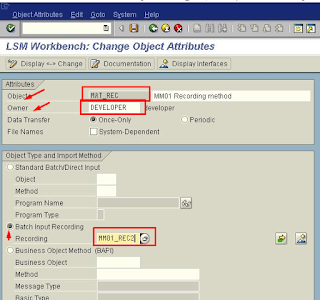
Maintain Object attributes in LSMW
Here, you will be updating the Material master records of the transaction (MM01). Select radio button Batch Input Recording and click on the recording overview icon to record the R/3 transaction. Enter the Recording name as MM01_REC2.
Click on create to record the transaction.
Enter Transaction code MM01 and Click on Continue.
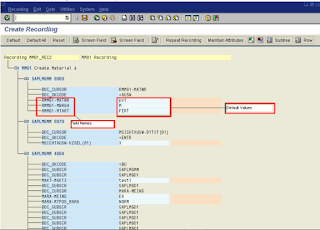
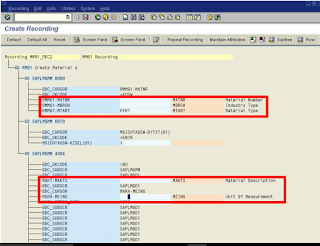
Enter the fields the fields and Default Values populated autamatically .
You can remove the default values by clicking on the field.
Click on SAVE to save the recording. The click on BACK icon to the main screen. Save the while going back to the main screen.
Maintain Source Structure for LSMW
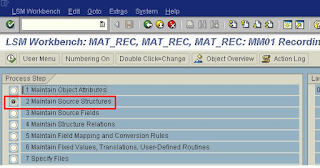
Select the Radio button Maintain Source Structure.
Click on CREATE to create a source structure. Give a name and a description to the source structure as shown below:
Save the source structure and go to the main screen.
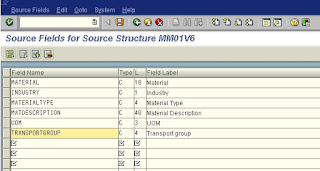
Maintain Source Fields for LSMW
Save while coming back to the main screen.
Maintain Structure Relations in SAP LSMW
Execute a step to 'Maintain Structure Relations'. Since, there is only one Source and Target Structure, the relationship is defaulted automatically.
Save while coming back to the main screen.
Maintain field mapping and conversion rules
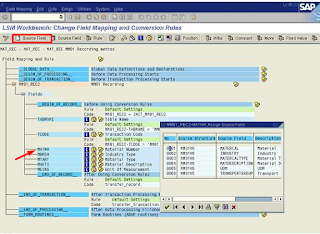
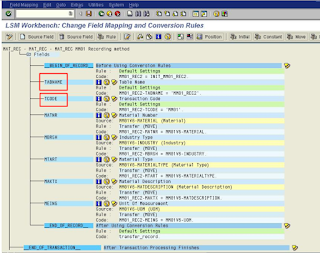
Keep cursor on field 'MATNR' and click on 'Assign Source field' icon to choose source field MATERIAL from structure MM01V6 .
Similarly, assign 'Source Field' rules to the remaining fields.
Save while coming back to the main screen.
Maintain fixed values, translations, user-defined routines
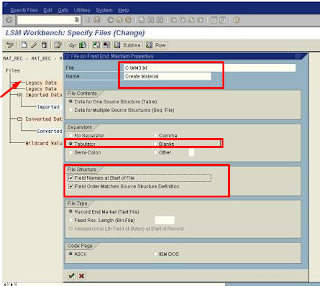
Specify files
In this step, we define how the layout of the input file is. It is present on your PC ,Double Click on the legacy data.
Save while going to main screen.
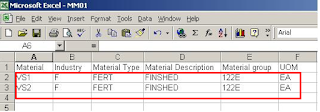
Create an Excel with your data and save it in your PC.
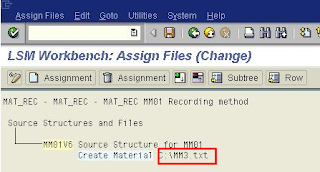
Assign file
Execute step 'Assign Files' and the system automatically defaults the filename to the source structure.
Save while going to main screen.
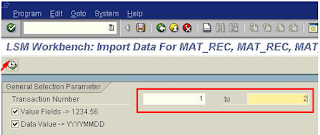
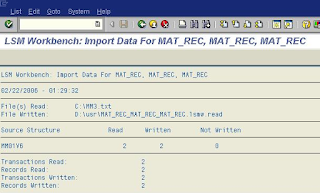
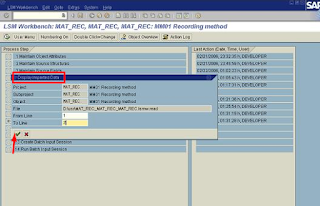
Read data
In this step, LSMW reads the data from the source file (from your PC's local drive). You have the option to read only selected rows and convert data values to internal format.
Display read data
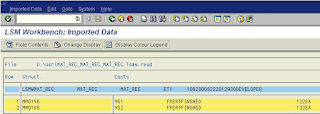
This step is optional. If required, you can review the field contents for the rows of data read.
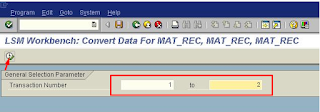
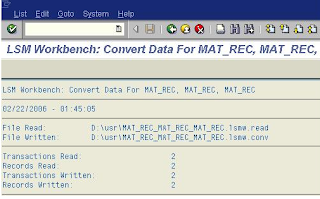
Convert data
This is the step that actually converts the source data (in source format) to a target format. Based on the conversion rules defined, source fields are mapped to target fields.
Click BACK to come back to main screen.
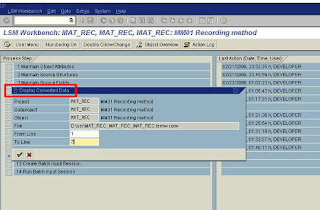
Display Converted data
Again this is an optional step to view how the source data is converted to internal SAP format.
Create batch input session
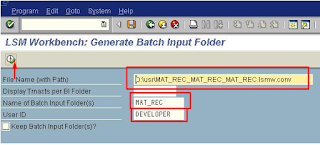
Once the source data is converted in an internal format, you can create a batch session to process updates.
Click on EXECUTE button to execute a batch input session.
Run Batch Input Session
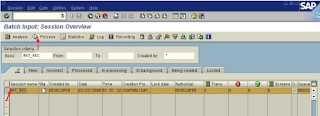
You can execute batch input session is using a standard SM35 transaction for managing BDC sessions. Once you have successfully executed the batch input session, the Material master records are updated in the system. You can confirm this by viewing the Material master records (MM03).
Select the session and click on the PROCESS icon.
You can Process the session in foreground or background or can only display errors.
BDC and LSMW
BDC Call Transaction Method Program in SAP ABAP
BDC Session Method Program Tutorial in SAP ABAP
BDC Interview Questions
SAP LSMW Tutorial Step by Step
Difference Between Call Transaction and Session Methods in SAP ABAP
SAP ABAP Tutorials for Beginners
LSMW,Tutorial ,SAP LSMW, Step by Step Tutorial on LSMW,Creating LSMW in SAP.







Comments
Post a Comment